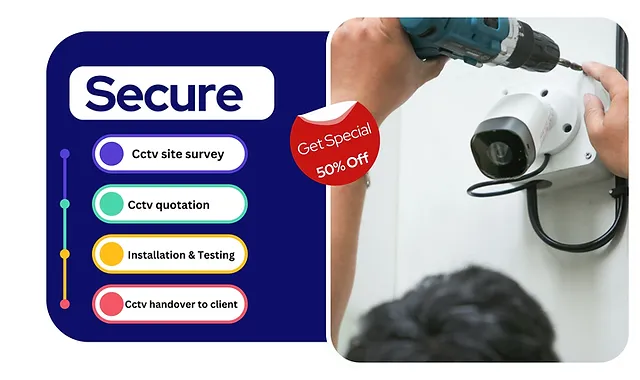
How to Install CCTV Cameras: Installing a CCTV camera system at home is essential for enhanced security and peace of mind. This guide walks you through the step-by-step process of installing a CCTV camera with a CP Plus DVR. Whether you’re a beginner or have some technical skills, this article will make the process easy to understand.
Why Install CCTV Cameras at Home?
- Enhanced Security: Monitor your property and deter potential intruders.
- Real-Time Monitoring: Keep an eye on your home remotely using smartphone apps.
- Peace of Mind: Ensure your family and belongings are safe, even when you’re away.
What You Need for Installation
Before beginning, gather the following items:
- CCTV Cameras (CP Plus or your preferred brand)
- CP Plus DVR (Digital Video Recorder)
- Hard Disk Drive (HDD) for DVR storage
- Cables: BNC, power cables, and LAN cables
- Power Supply Unit
- Monitor or TV for display
- Drill and Mounting Tools
Step 1: Unboxing the CP Plus DVR and CCTV Cameras
- Carefully unbox the CP Plus DVR and cameras.
- Check the package for all necessary components, including power adapters, connectors, and cables.
- Ensure the hard disk is compatible with your DVR. If not pre-installed, insert the hard disk into the DVR following the manual.
Step 2: Planning Camera Placement
- Identify areas that require surveillance, such as entrances, hallways, or the backyard.
- Place cameras at a height to cover maximum area and avoid blind spots.
- Ensure the cameras are protected from harsh weather conditions if placed outdoors.
Step 3: Installing the Cameras
- Use a drill to mount the camera brackets securely.
- Attach the cameras to the brackets and adjust the angle as needed.
- Connect the power cables to the cameras.
Step 4: Wiring the System 0 How to Install CCTV Cameras
- Run the BNC cables from each camera to the DVR.
- Use cable clips or conduits to keep the wiring neat and protected.
- Connect the power supply cables to the cameras and the DVR.
Step 5: Connecting the CP Plus DVR
- Connect all camera cables to the DVR using the BNC connectors.
- Attach the monitor/TV to the DVR using an HDMI or VGA cable.
- Connect the DVR to a power source and switch it on.
Step 6: Configuring the DVR– How to Install CCTV Cameras
- Use the DVR’s interface to configure the settings.
- Set up recording preferences, motion detection, and storage options.
- Connect the DVR to the internet via a LAN cable for remote access.
Step 7: Testing the System – How to Install CCTV Cameras
- Check the live feed from all cameras on the monitor or TV.
- Ensure there are no blind spots or connectivity issues.
- Test the mobile app (such as CP Plus’s mobile app) for remote viewing.
Tips for Effective Installation – How to Install CCTV Cameras
- Use high-quality cables for reliable performance.
- Regularly clean camera lenses for clear footage.
- Update your DVR software to ensure compatibility with the latest features.
Conclusion– How to Install CCTV Cameras
Installing a CCTV camera system at home is a straightforward process when you follow the right steps. The CP Plus DVR makes the process seamless with its user-friendly setup. By securing your home with CCTV cameras, you can monitor your surroundings effectively and enjoy peace of mind.
For more tech guides, reviews, and product recommendations, visit Gitakart.in. Stay safe and secure!
Tags:


 Watch
Watch
 CASUAL WEAR
[…] IP cameras provide advanced security monitoring, but they also come with cybersecurity risks. Yes, IP cameras can be hacked, and incidents of unauthorized access have exposed private homes, businesses, and even government facilities. […]
Keep this going please, great job!
Thank you so much! 😊 Your encouragement means a lot. I’ll definitely keep sharing more content like this!
“Thank you so much for the encouragement! 🙏 I’ll definitely keep it going—your support means a lot.”
Awesome article.
thanks
“Thank you so much! Glad you enjoyed the article 🙌.”
My brother suggested I might like this blog. He was totally right.
This post truly made my day. You can not imagine simply how much time I had
spent for this info! Thanks!
I’m so glad to hear that! 😊 It’s wonderful that your brother recommended the blog and that you found the information useful. Your kind words really make my day too—thank you for taking the time to share this!
“That means a lot—thank you! I’m so glad the post was useful for you, and please thank your brother for recommending it too. Makes my day knowing it helped 🙏😊.”
Thanks for sharing your thoughts on ups battery backup uk.
Regards
You’re welcome! I’m glad you found the information helpful. If you have any more questions about UPS battery backup in the UK, feel free to ask anytime.
“You’re very welcome! I’m glad you found the post useful. Thanks for stopping by and sharing your feedback—really appreciate it. 🙏”